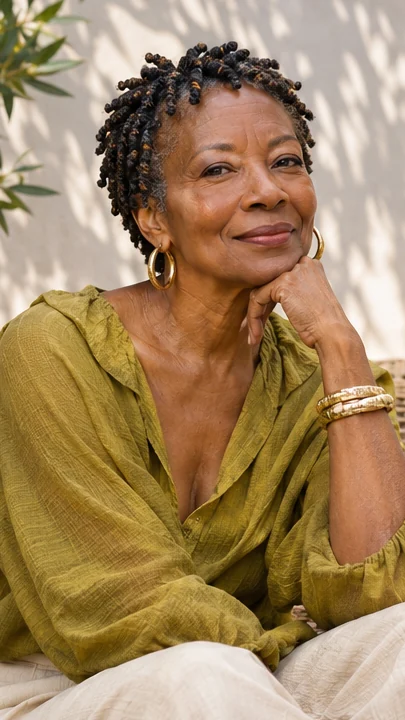
23 Low-Tension Braid Styles for Women Over 60
Tell your braider where your scalp feels tender before the work starts. The weight of the finished braids and the way they come away from the hairline matter just as much as the pattern.
Any of these styles can pull if installed tightly. Use the ideas for shape and length, then work with the braider to keep the roots comfortable.
1. Loose straight-back cornrows
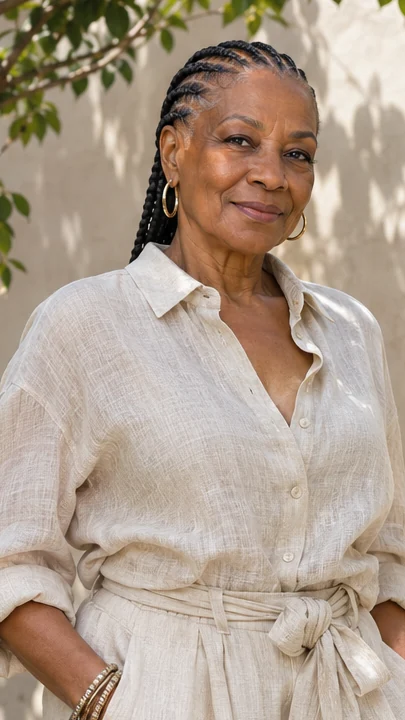
Ask for straight sections with room at the temples before the braider starts. If the first braid feels tight, say so before they finish the row.
2. Short knotless bob braids
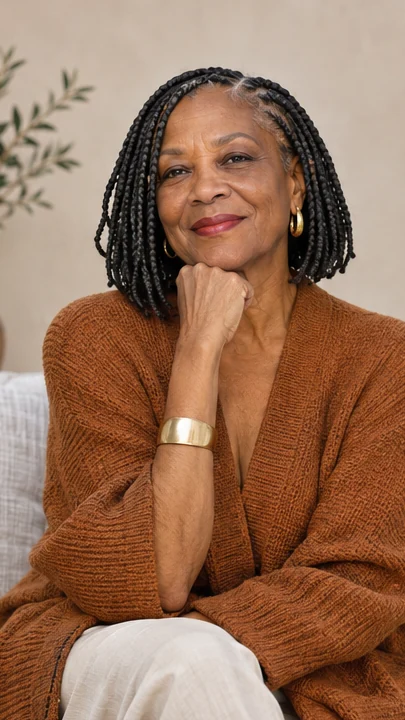
Choose the length and weight together. Short ends can clear the collar, and a lighter set is easier to wear than lots of added hair.
3. Side-swept cornrows
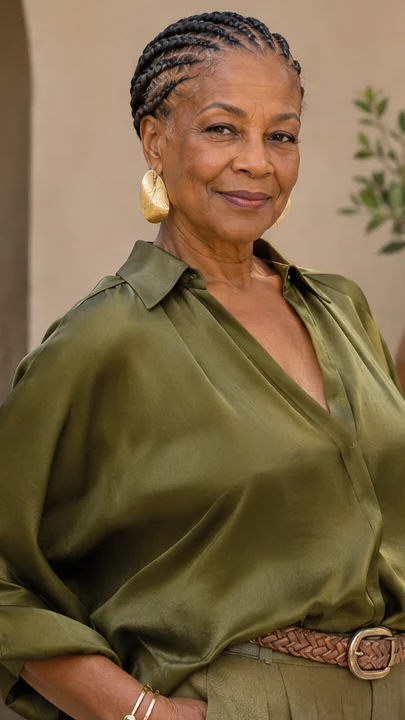
Set the direction where you naturally part your hair.
Try your everyday glasses before the last braid near the ear, where the frame arm rests.
Keep a comfort check in the routine.
- Listen for pulling when you lift your eyebrows or turn your head.
- Undo a tight tie before you retie the braids lower.
4. Loose braided low bun
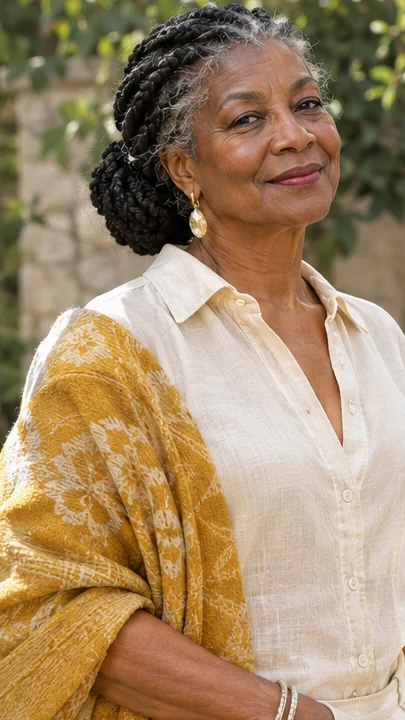
Gather the braids at the nape and let the bun sit with some give. Lift your head and turn before adding more pins.
5. Wide cornrows ending above the collar
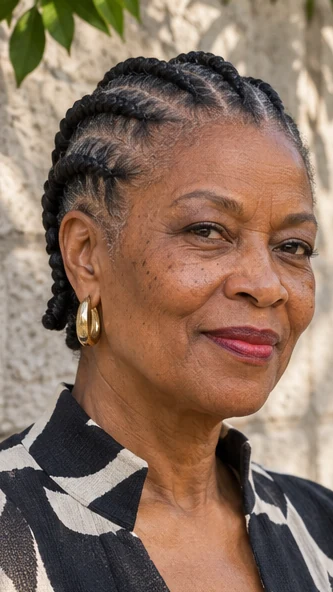
Keep the rows wide if you prefer fewer braids. Ask how the ends will sit against your scarf and pick a length you can leave down.
6. Short braids with an open temple
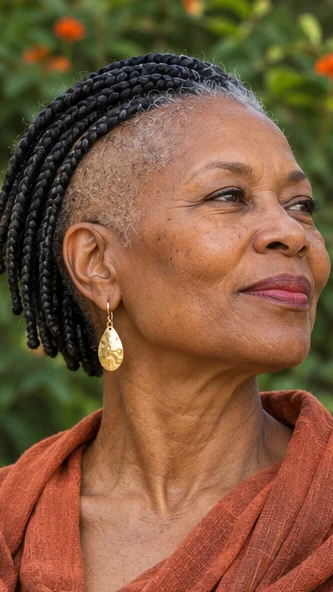
Leave a little room beside the frame arm and keep the front braid clear of the hinge.
Hairline check. The open side gives you room for a small earring.
7. Chin-length braids with a side part
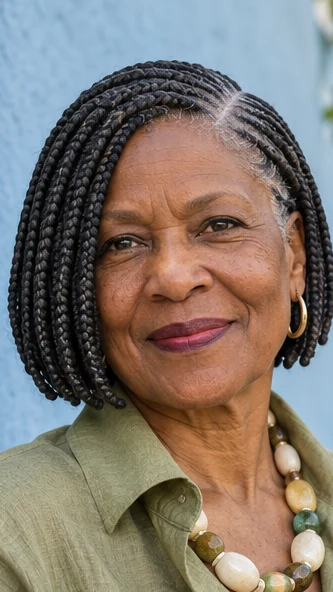
Ask for a side part that doesn’t pull on the hairline.
Check where the ends land when you tuck the shorter side.
8. Low ponytail of medium braids
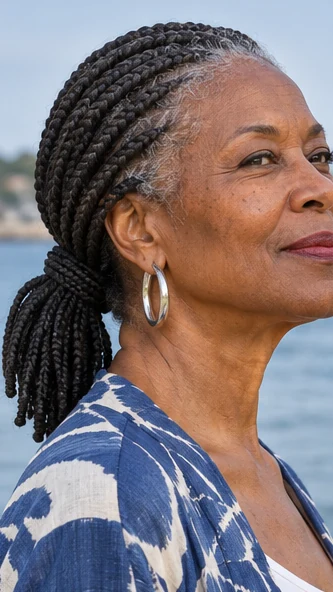
Use a covered tie low at the neck and leave room to turn your head. If the base feels tight, undo the tie and gather fewer braids.
9. Soft halo braid
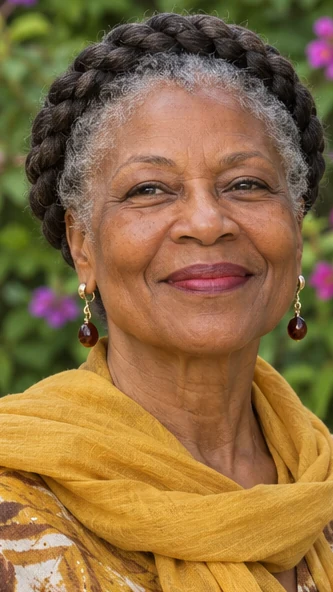
Lay the braid around the head and tuck the end underneath. Keep the hairline easy to move, especially where you usually part it.
10. Short braids with a curved line at the nape
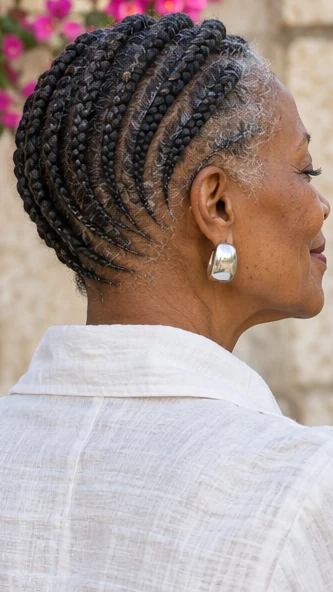
Ask to see the rear outline. A little curve leaves room above the collar without requiring every braid to stop at the same point.
11. Two loose feed-in braids
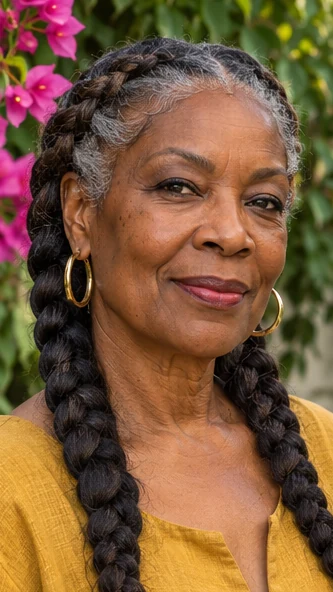
Discuss how much added hair is needed for the shape you want.
Weight check. Keep the start soft so the braids do not pull at the front.
12. Microbraids at a short length
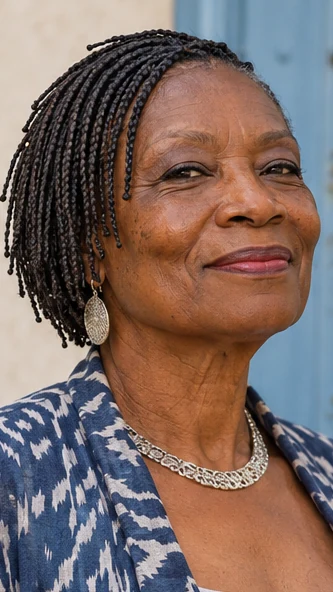
Ask your braider how many braids a small section size will make. Choose a larger section if the weight or the time in the chair feels like too much.
13. Loose box braids with a center part
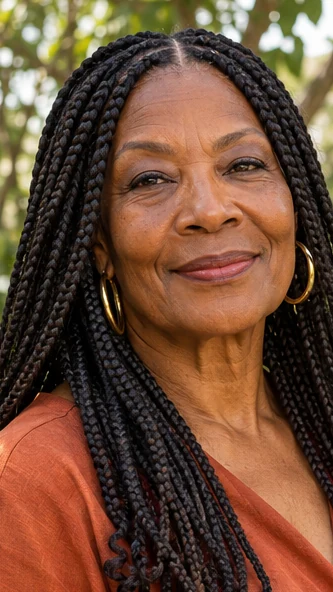
Let the part follow a place where your hair is easy to separate. Check that the boxes don’t tug when you rest your forehead.
14. Braids rolled at the nape
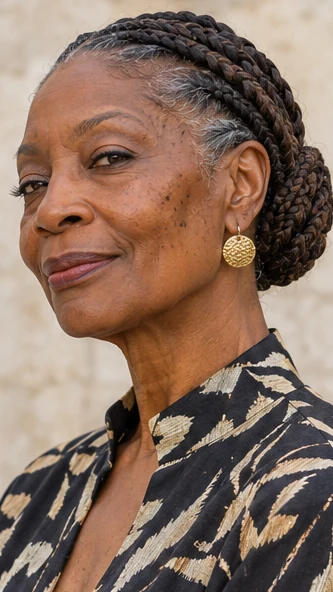
Roll only the length you need to lift off the shoulders. Pin under the fold where the braid won’t press against your neck.
15. Short braids with silver woven through
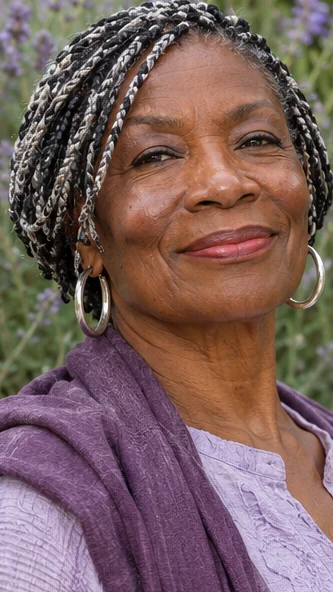
Leave your own silver visible and decide where any matching extension color goes.
Bring a daylight photo so the braider sees the shade at the roots.
16. Flat cornrows with loose ends
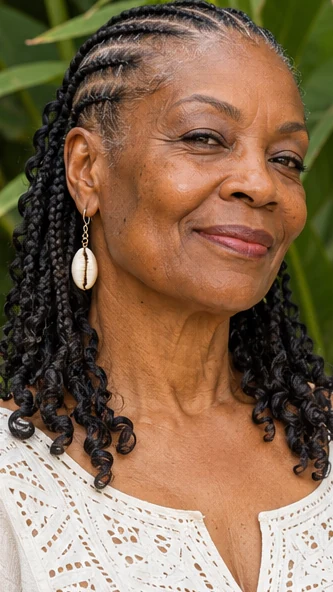
Keep the rows behind the hairline and let the ends fall free. Check for pressure near the ear before you put your glasses back on.
17. Braided bob with blunt ends
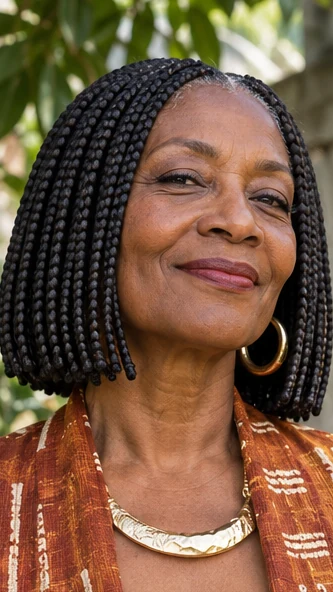
Set the bob where it can clear the collar.
At the appointment. If the ends feel heavy in one place, ask about fewer braids or a length that sits a little higher.
18. Half-up knotless braids
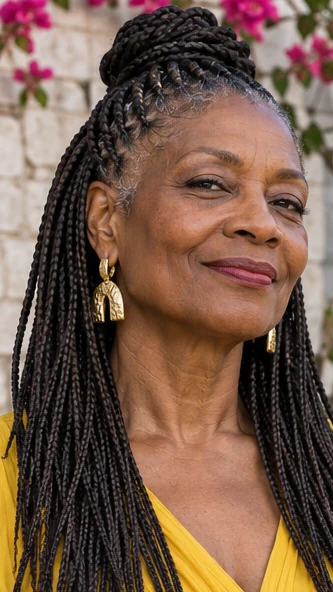
Gather just the top section and leave the front row free if it would need to pull. Use the mirror to check the temples before tightening the tie.
19. Four wide braids to the back
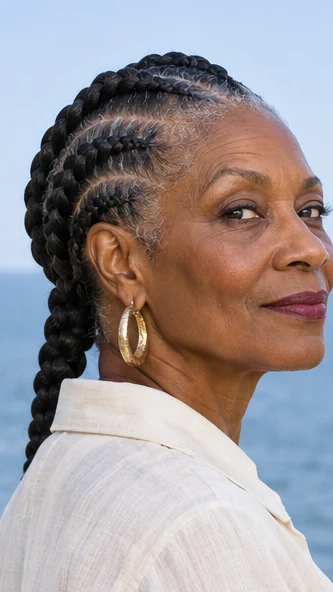
A small number of rows can keep the finish simple.
Let the braider see the way your hairline grows before marking the first part.
20. Cornrows with a small side bun
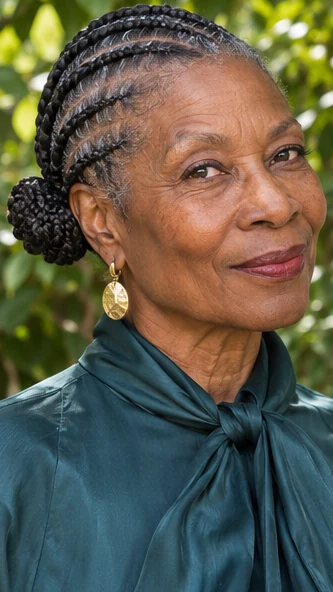
Angle the braids toward a bun that you can reach without bending your wrist. The bun can stay loose enough to move when you turn your head.
21. Short braided crop with a diagonal part
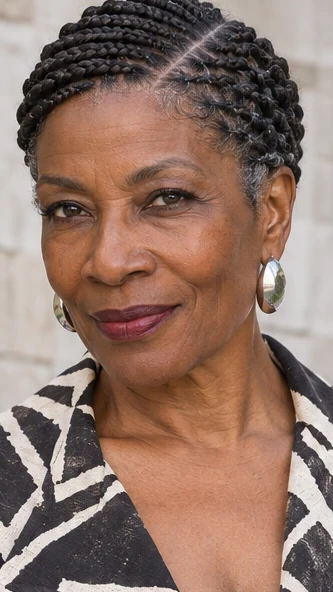
Set the diagonal before starting and leave the lighter side clear around the ear. Use the visual direction of the rows for the shape rather than pulling them tightly.
22. Soft side braid on natural hair
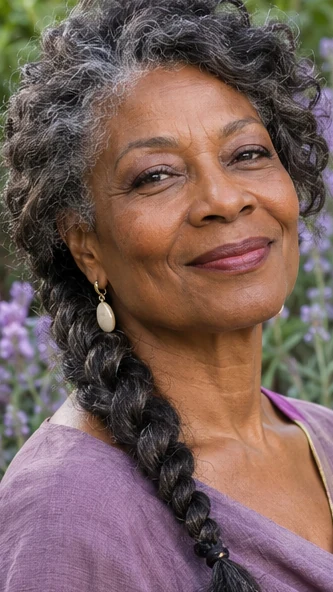
Gather the hair low and start the braid after the hair falls to one side. Let a short front piece stay free if it won’t reach without pulling.
23. Low double braided knots
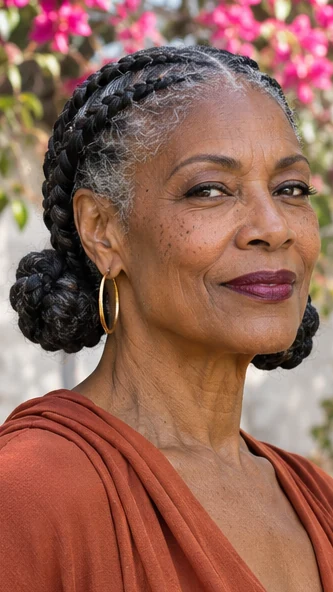
Set the two knots a little apart to keep weight off one spot.
Leave some give at the nape and check both sides against a raised collar.
For more ideas, see the guide to short haircuts for fine hair.
Further reading. American Academy of Dermatology guidance on tension and hairstyles.
The portraits are AI-generated illustrations of the featured looks.